Introduction
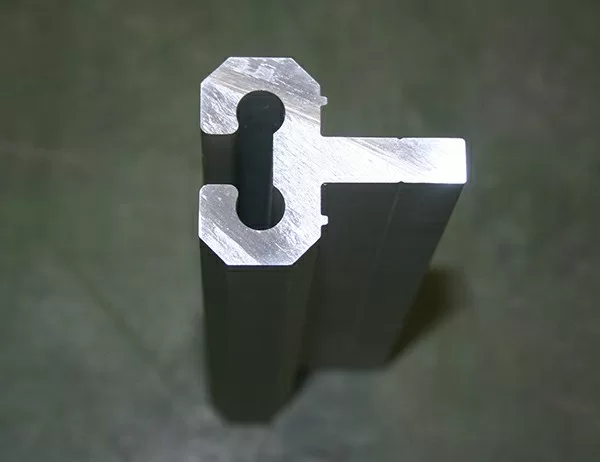
Integrating aluminum frames with other solar panel mounting systems offers many advantages, including increased flexibility, durability, and stability. To ensure optimal performance and longevity of your solar installation, it’s essential to understand the proper methods for integrating these components. This article will provide a comprehensive guide to effectively integrate aluminum frames with various mounting systems.
Selecting Compatible Mounting Systems
The first step is to select compatible mounting systems for your specific aluminum frames. Consider factors such as:
Frame thickness and dimensions: Ensure the mounting system can securely hold your frame’s dimensions and weight.
Type of roofing: Choose a mounting system designed for your roof’s type, pitch, and surface material.
Environmental conditions: Select a system that can withstand the expected wind and snow loads in your area.
Mounting Preparation
Before installing the frames, prepare the mounting surface:
Clean the roof: Remove any dirt, debris, or oils that could affect adhesion.
Inspect the roof: Look for potential weaknesses or areas that may require additional support.
Mark the frame locations: Determine the placement of the frames based on the desired array layout and spacing.
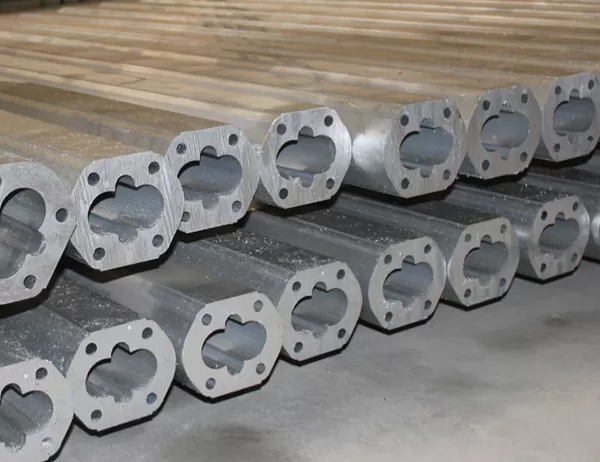
Installing the Frames
Install the aluminum frames using proper techniques:
Install base rails: Secure the mounting system’s base rails to the roof according to the manufacturer’s instructions.
Position the frames: Carefully place the aluminum frames on the base rails, aligning them with the marked locations.
Bolt the frames: Tighten the bolts to securely fasten the frames to the base rails.
Check for alignment: Use a level or other measuring tool to ensure the frames are level and aligned before proceeding.
Electrical Integration
Connect the solar panels to the frames and electrical system:
Install wiring channels: Run wiring channels along the frames to protect and manage the electrical cables.
Mount the solar panels: Place the solar panels on the frames and secure them using mounting clips.
Connect the panels: Connect the solar panels to each other using compatible cables and connectors.
Terminate the wiring: Run the wiring from the solar panels to the inverter and other electrical components.
Considerations for Different Mounting Systems
The integration process may vary slightly depending on the type of mounting system used. Here are a few specific considerations:
Tilt-Up Mounts
Support structure: Ensure the tilt-up mounts provide sufficient support for the aluminum frames and solar panels.
Orientation: Determine the optimal tilt angle for maximum sun exposure and adjust the mounts accordingly.
Ballasted Mounts
Ballast weight: Calculate the appropriate ballast weight based on the wind loads in your area.
Surface stability: Ensure the mounting surface can withstand the weight of the ballast and solar panels.
Ground Mounts
Foundation design: Design the foundation to support the weight and stability of the aluminum frames and solar panels.
Drainage: Consider drainage solutions to prevent water accumulation and potential damage to the frames and panels.
Troubleshooting Common Issues
Frame deflection: If the frames bend or deform, inspect the mounting points for proper tightening and support.
Loose panels: Check the mounting clips and ensure they are securely fastened.
Corrosion: Protect the aluminum frames with proper coatings and prevent water intrusion to minimize corrosion.
Electrical faults: Troubleshoot the electrical connections and ensure all components are properly terminated and insulated.